
Word Practice 2

Here is a video demonstrating the skills in this practice. Please note it does not exactly match the instructions:
Complete the following Practice Activity and submit your completed project.

For Word Practice 2, we will use Word to create a document to inform potential applicants of a trainee program at South Puget Sound Community College’s Fine Arts Division. Key skills in this practice are creating lists, tab stops, and SmartArt.
- Start Word and open Starter_Word_Practice2 from the location you saved the file downloaded from Canvas. Save the file as Yourlastname_Yourfirstname_Word_Practice_2 in your Word folder. Show the formatting marks and turn on the ruler.
- On the Layout Tab, in the Page Setup Group, Choose the arrow under Margins. Choose Custom Margins. In the Page Setup Dialog Box, Change the left and right margins to 1”.
- On the Insert Tab, in the Header and Footer group, Choose Footer, then Edit Footer. In the Header and Footer Toolbar, Design Tab, in the Insert Group, choose the arrow under Document Info. Add the file name to the footer.
- Starting at the top of your document, select all the text in the document. On the Home Tab, in the Paragraph group, select Align left.
- Move your insertion point to the top of the document.
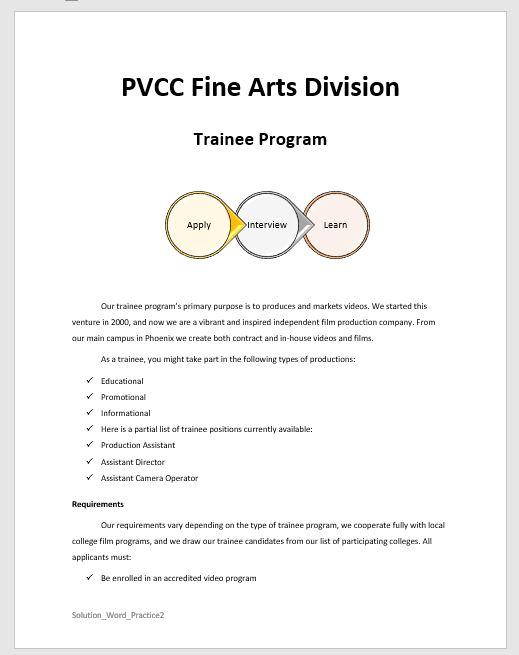
- Select the title only: SPSCC (change PVCC to SPSCC if necessary) Fine Arts Division. Using the mini-toolbar, change the font size of the title text to 36.
- Using the technique you just learned, change the font of the second paragraph ‘Trainee Program’ to 24.
- Select the first two paragraphs, and center align them. Compare the first page in your document to the screenshot below.
- Select the entire document. On the Home Tab, Paragraph group, select the arrow next to Line and Paragraph Spacing. Change the line spacing for the entire document to 1.5 and save the document.
- Set the indentation for the paragraph that begins, ‘Our trainee program’s primary…’ to First Line Indent. This is done by launching the Paragraph dialog box on the Home Tab. In the Paragraph dialog box, on the Indents and Spacing Tab, under Indentation, set the Special Box to First Line by .5”. Click OK. Notice on the ruler, a marker has been set at the .5” mark on the ruler.
- In the next paragraph, which begins, ‘As a trainee’, drag the First Line Indent marker to the 0.5mark on the Horizontal ruler.
- Using either method, apply a first line indent of .5” to the paragraph beginning with ’Here is a partial…’.
- Select the entire document. Launch the Paragraph dialog box on the Home Tab. In the Paragraph dialog box, on the Indents and Spacing Tab, Change the After Paragraph Spacing for the entire document to 6 pt. Click OK.
- Select the two subheadings, ‘Requirements’ and ‘Upcoming Trainee Programs’. and change the Before Paragraph Spacing for the selection to 12 pt. To select two nonadjacent headings, use the CTRL Key on your keyboard. Select the first heading, hold down the CTRL key, and then select the second heading.
- Select the paragraph starting with Educational and the next 2 paragraphs and apply bullets. Bullets are located on the Home Tab, Paragraph Group, Bullets. Choose the first bullet option.
- Select the three trainee positions and apply bullets. Use the same bullet style that you applied in the previous step.
- Apply the same Bullets to all four paragraphs that have October meeting dates.
- Position the insertion point at the end of the paragraph starting with Our requirements following the colon and press Enter one time.
- If necessary, on the ruler, drag the first line indent marker to the left so that it is positioned directly above the lower button and type the following lines:

-
- ‘Be enrolled in an accredited video program’, and press Enter.
- ‘Be available during the entire production process’, and press Enter.
- ‘Submit three faculty letters of recommendation’.
- Select and format all three lines as a bulleted list.
- Select all four of the October meetings. Use the mini-toolbar and select the check mark symbol as a bullet.
- Use Format Painter and change the bullets for the three bulleted lists on Page 1. The Format Painter is on the Home Tab, Clipboard group. To use the format painter, select the area first. Then, click the format painter icon once to activate it. Then, select the area that you would like to ‘paint’. This will apply the format you originally selected. The text “Here is a partial list…” should not be bulleted.
- Select the bulleted list of October meeting dates on Page 2.
- Ensure the tab indicator to the left of the horizontal rule is set to Left Tab. You can verify this by hovering your mouse over the tab indicator. If you click once, it will change the indicator.
- Using the horizontal ruler, set a left tab at the 4-inch mark. The Left Tab is set by clicking once on the 4-inch mark on the horizontal ruler. You will see the Left Tab indicator show up on the ruler.
- Drag the new tab marker at 4 inches to 4.5 inches on the Horizontal ruler, and then double-click it to launch the Tabs Dialog Box.
- In the Tabs Dialog Box, ensure the 4.5” tab stop is highlighted. Change alignment to Left.
- In the Tab Stop Position, replace the 4.5 with 3.5
- Select the 3 leader option. Select set.
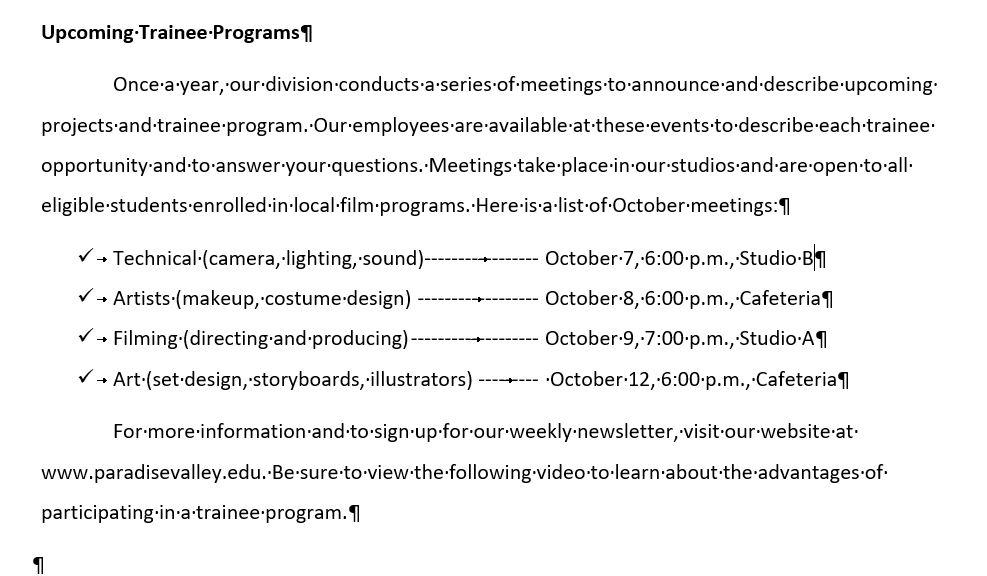
- Clear the 4.5″ tab stop position by selecting it, then clicking Clear. Repeat this process with any other tab stops until the only one displayed is the 3.5”. Select OK to close the Tabs Dialog Box. Compare your bulleted, leader list to the image below.
- In the bulleted list with dot leaders, position the insertion point at the end of the line starting with Filming and ending with Studio A. Enter a new blank bullet item, type Set Creation, press tab, and type October 11, 7:00 p.m., Cafeteria. Save your work.
- At the top of the document, move the insertion point behind the text ‘Trainee Program’ and hit enter one time.
- On the Insert Tab, Illustrations group, insert a Circle Process SmartArt graphic. This is under the Process grouping.
- In the first blue circle of the SmartArt graphic, type Apply.

. - In the placeholder in the middle row, type Interview. Notice how the SmartArt shape automatically resizes the text you enter for the best fit.
- In the third circle, type Learn.
- Click the outer border of the SmartArt to ensure the entire graphic is selected.
- On the SmartArt Toolbar, Format Tab, Size group, change the SmartArt height to 2 and the width to 6.5.
- With the SmartArt still selected, on the SmartArt Toolbar, Design Tab, in the SmartArt Styles Group, change the color to Colorful – Accent Colors.
- Ensure the SmartArt is still selected, on the SmartArt Toolbar, Design Tab, in the SmartArt Styles Group Apply the 3D Cartoon SmartArt style.
- Scroll to the end of the document, or use the shortcut keys CTRL+END. You should be under the last paragraph text. Ensure the first line indent is back to the left margin.
- On the Insert Tab, Media Group, choose Online Video.
- In the Search Box next to YouTube, type ‘PVCC Fine Arts’ to search for a video to embed. Select the video, and then click Insert.
If you do not have the YouTube search box, you can find PVCC Fine Arts on YouTube by following this link: https://www.youtube.com, and searching for PVCC Fine Arts. Then you will need to copy the URL (in the address bar), and paste it into the online video box in Word. - With the embedded video selected, on the Picture Tools, Format Tab, in the Size group, change the Height and Width of the picture to 2’. Depending on the video you may not get it to be square. Make sure the Height is 2″.
- On the Home Tab, Paragraph Group, Center the video icon.
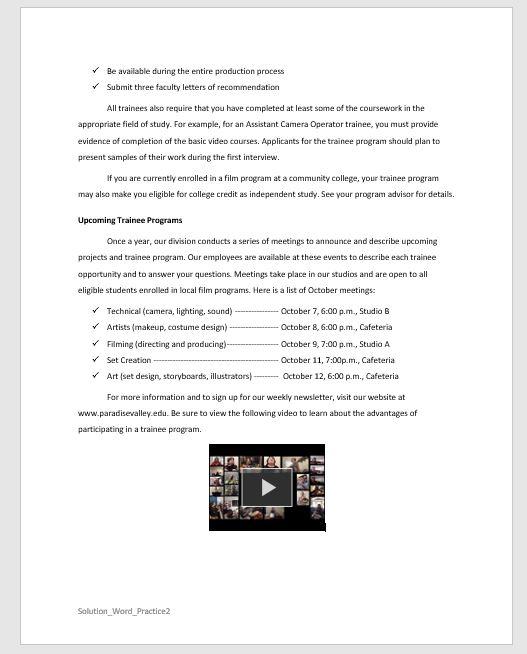
- Save your document, and compare it to the screen shot below.
- Submit the file for grading per your instructor’s instructions.
The bottom margin of each page
Appears whenever you right-click text in Word, Excel or PowerPoint and provides a quick-access version of the Font group on the Home tab, plus a few extra buttons from other groups
Specifies the distance between where the lines in a paragraph start in relation to the left or right margins
Text symbols such as small circles that precede each item in a bulleted list
A list of items in no particular order that are preceded by a bullet for emphasis and organization
Allows you to copy formatting from one item and apply it to another
A button to the left of the ruler that provides tab marker options
Horizontal position which is set for placing and aligning text on a page
The space between tab stops can show a line, dots or dashes to line up information and guide the reader
Horizontal position which is set for placing and aligning text on a page
A free video sharing website
