
Word Practice 5

Here is a video demonstrating the skills in this practice. Please note it does not exactly match the instructions:
Complete the following Practice Activity and submit your completed project.

For Word Practice 5, we will use Word to create a research paper. Key skills in this practice are formatting a research paper, footnotes and endnotes, citations and bibliography, and advanced properties.
- Start Word, and open the file Starter_Word_Practice5 from Canvas. Save the document as Yourlastname_Yourfirstname_Word_Practice_5 in your Word Folder.
- Select all of the text in the document. For the entire document, change the line spacing to 1.5 and the Spacing After to 0 pt.
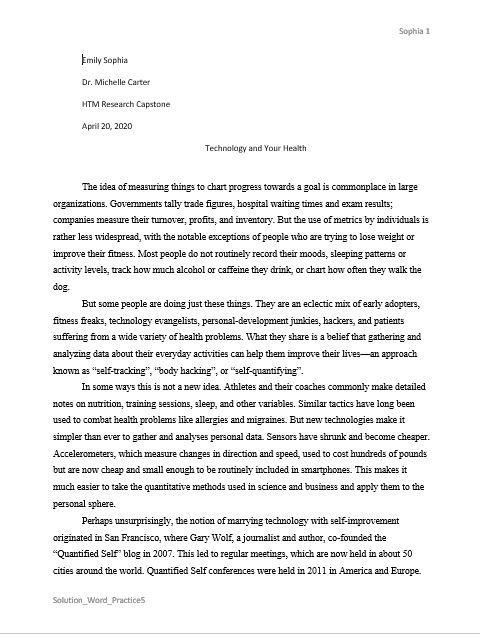
- Create a blank paragraph at the top of the document. After placing the insertion point in the blank paragraph, type the following, pressing Enter at the end of each line except the last:
-
- Emily Sophia
- Dr. Michelle Carter
- HTM Research Capstone
- April 20, 2020
- Technology and Your Health
- Center the text in the last typed line: Technology and Your Health.
- On the Insert Tab, Header & Footer group, select Header, then Edit Header. In the Header on the first page, type Sophia and then spacebar.
- On the Header & Footer toolbar, Design tab, in the Header & Footer Group, choose Page Number. Add a Simple Plain Number page number in current position and right-align the header.
- On the Header & Footer toolbar, click Go to Footer. Use Document Info to add the filename to the footer. Double click in the white space in the document to exit from the Footer view.
- Select all the text beginning with The Idea of to the end of the document. With the text selected, on the Home Tab, Paragraph Group, click the arrow next to the Line and Paragraph Spacing icon and choose Line Spacing Options. Under Indentation, apply the First line indent. Confirm that the by Box is set for 0.5″. Click OK. Deselect the text and notice how the first line of every paragraph is indented by half an inch.
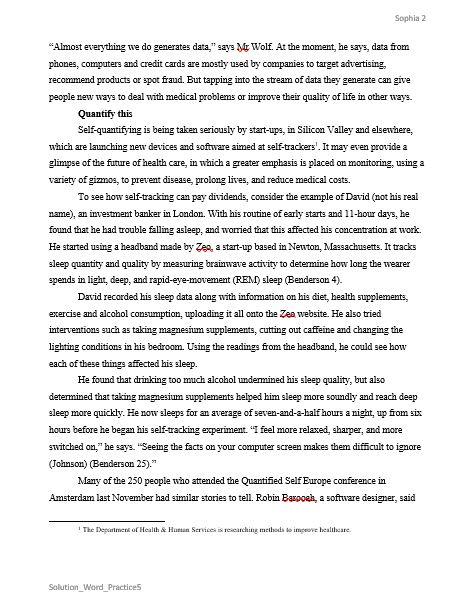
- In the paragraph that begins with Self-quantifying, position the cursor in the second line of the paragraph to the right of the period after self-trackers on page 2.
- On the References Tab, Footnotes group, choose Insert Footnote. Notice how the insertion point moves to the bottom of the page, and a ‘1’ is inserted. To add the footnote, type ‘The Department of Health & Human Services is researching methods to improve healthcare.’ A footnote indicator was automatically added to self-trackers[1].
- Select the entire text of the footnote at the bottom of the page, including the ‘1’. Right click within the gray highlighted area, and choose Style. Choose Modify to modify the current style. Modify the style of the footnote at the bottom of Page 2 by:
-
- Changing the font size to 9
- On the bottom left side under Format, choose Paragraph. Set the First Line indentation to .05”
- Select Double line spacing
- To apply your changes and back out of these screens, select, Ok, OK, and Apply.
- On the References Tab, in the Citations & Bibliography group, in the Style Window, select set the bibliography style to MLA 7th Edition.
- Position the insertion point to the right of the period at the end of the paragraph that begins To see how on Page 2. To add a citation, go to the References Tab, Citations & Bibliography group and choose Insert Citation, Add a new Source. Add the following book citation:
- Author: Henderson, Robert
- Title: Living with Technology
- Year: 2016
- City: Chicago
- Publisher: Grant Publishing
- Medium: Print
- Click OK to add the Citation. Notice how an in-text citation automatically populated at the end of the paragraph.
- Select the in-text citation, and the right click and choose Edit Citation. Edit the citation by typing 4 in the Pages box.
- Type a period to the right of the citation and delete the period to the left of the citation.
- On Page 2, at the end of the paragraph that begins He found that drinking, position the insertion point after the letter e in ignore and to the left of the period and add the following book citation:
- Author: Johnson, Ralph A. and Mary Martin
- Title: Impact of Technology on Mental Health
- Year: 2015
- City: New York
- Publisher: The IT Press
- Medium: Print
- Edit the citation by typing 25 in the Pages box.
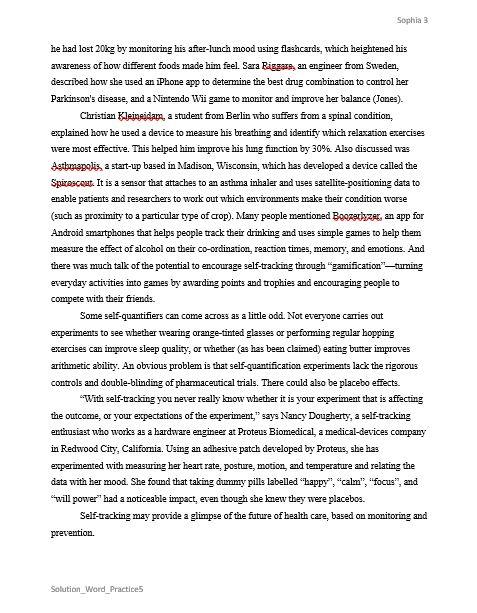
- At the end of the next paragraph that begins, Many of the 250, position the insertion point after the letter e in balance and to the left of the period and add the following website citation:
- Author: Jones, B. E.
- Name of Web Page: NIH 2014-April Brief
- Year: 2017
- Month: April
- Day: 29
- Year Accessed: 2018
- Month Accessed: May
- Day Accessed: 15
- Medium: Web
- At the end of the document, insert a manual page break. On the Layout tab, Page Setup Group, Choose Page Breaks, Page.
- On the new blank page, set the paragraphs indentation to None.
- On the References Tab, Citations & Bibliography Group, Choose the arrow next to Bibliography, and select the text Insert Bibliography.
- Above the first line of the bibliography (you may need to hit Enter to create space for the title), type Bibliography.
- Select the title Bibliography. Change the font to Arial Black, the font size to 14 the font color to Black, Text 1, and then center the text.
- Select the three references but not the blank paragraph and change the paragraph line spacing to 2.0 and the spacing before and after to 0 pt. Select OK.
- On the References Tab, in the Citations & Bibliography group, selected Manage Sources to launch the Source Manager. Using the Source Manager, in the Master List, change the H in Henderson to B. Click Yes to any messages that populate, then click ok. Close the dialog box.
- Select the three sources under Bibliography. Right click in the gray box, and choose Update Field. Notice this updates the citations and bibliography to reflect this change.
- In Backstage View, add the following document properties:
-
- Document title: Technology and Health
- Keywords: technology, research paper
- Comments: Draft of class report
- Subject box: your course name and section number
- Company: SPSCC HTS Program
- Manager box: Dr. Michelle Carter
- Author: your first name and last name
Note: Use the Summary tab on the Advanced Properties dialog box, to display the document properties and the Statistics tab to show document statistics.
- Select Quantified Self on page 1, fourth paragraph and click Smart Lookup on the Review Tab. If you do not have this icon, click in the Search box at the top of the window and type Smart Lookup. If necessary, click Got It, and show any additional information source. Choose one or two sites to view, and then close the Smart Lookup Pane.
- Move to the top of the document and display the document in Read Mode by going to the View tab, in the View Group choose Read Mode.
- Click Tools from the upper left corner. Click Find and in the search box type Benderson. Notice how the results display in the Navigation Pane, and are also highlighted in the text of the document.
- Click View in the upper left-hand corner.
Click Edit Document to return to Print Layout view. Close the Navigation Pane if necessary. Compare your file to the images below, and make any adjustments as necessary.

- Take a moment to Save your file, and ensure you know the location where it is stored. Most likely this is in your Word Folder.
- In Backstage View, select Save As Adobe PDF, then Save. Your file location should default to the same location. If not, make note of where your file is being saved. It may take a few minutes to convert your document to a PDF. View your file once it is converted, and then close it.
If Save As Adobe PDF is not available, click Save As, then Browse, and make sure it is saving into the same folder. Click the arrow to the right of the Save as type box, and choose PDF (*pdf), and click Save. - Using Windows Explorer, open a new folder and navigate to where your PDF file is saved. Do not open your file. Instead, right click on the file icon, choose Open with, Word 2019. The PDF file will start to convert back to Word. Click OK. Take note of any changes that might have occurred during the file conversation process.
- Submit the file for grading per your instructor’s instructions. Be sure to submit your Word Document, not the PDF file.
